I am getting ready to have a massive garage sale at the end of next month. I have two great girlfriends and we have decided to do joint garage sales twice a year. One has a neighborhood sale in the spring, the other in the fall! Works out perfectly. When we did it this spring - we kinda just threw it together at the last minute, but we had a good sale considering it rained buckets. This time - we are taking a little more planning and our leanings from our spring sale to really knock it out of the park! I thought I would pass along some of our tips and tricks for putting on a good garage sale.
Pricing
First, your prep work is the most important part. And the most cumbersome portion of that prep work is pricing everything. Give yourself plenty of time to sort through all your stuff and price it. I highly recommend getting the round sale stickers with prices already on them. You can find them online or in just about any store in the office supply section. Another great option is to think about doing bulk pricing. For example, if you have a bunch of kids clothes in a bin you can just make a sign that says all pieces $1 or everything you can fit in a grocery bag is $5! That can help save a lot of time.
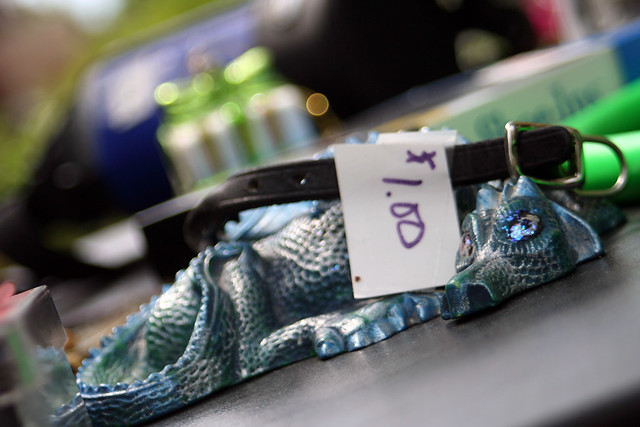
Photo by Hawkins
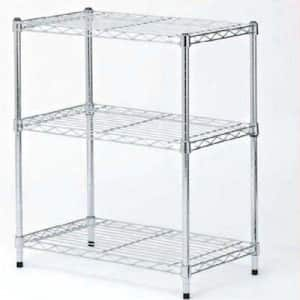
If you’re not sure what to price things – hop over to your local Goodwill, do a spin around the store and take some notes. You shouldn’t price anything higher than what you see there, unless it is really nice or brand new. I would stroll thru with an idea of what you have for sale and make some general notes. For instance, if you have books see what price they have on paperbacks and hardbacks. Normally it is a consistent price. Once you have your shopping intel, I would go slightly under the prices you saw there. Remember people who yard sale know when something is over priced. Of course they will also often will always bargain, so put a little fluff in but not too much. I find that I will spend more money and purchase more items at a yard sale where things are priced low than if they price high. And your goal here needs to be to move volume and get rid of junk!

Photo by Bob n Renee
Change
Before the sale – make sure to stop by the bank and get some change. You will want to have at least $80 in change available (I get 4-$10s, 4-$5s, 15-$1s and $5 in quarters) or more if you have bigger higher priced items. I normally grab our penny jar for dimes and nickels and pennies. But if you don’t have one of those it is probably good to get a roll of nickels too.
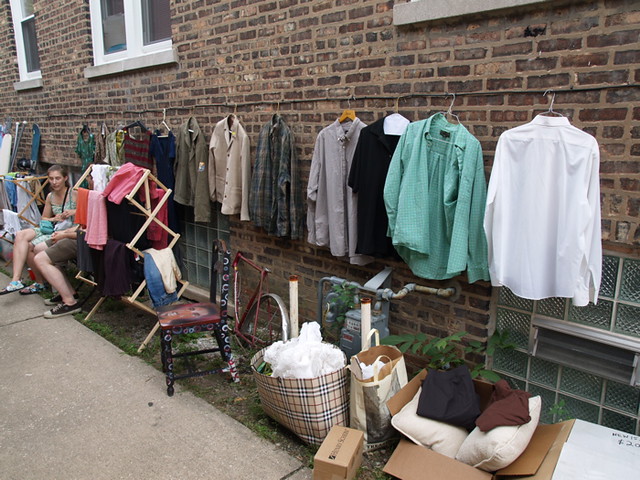
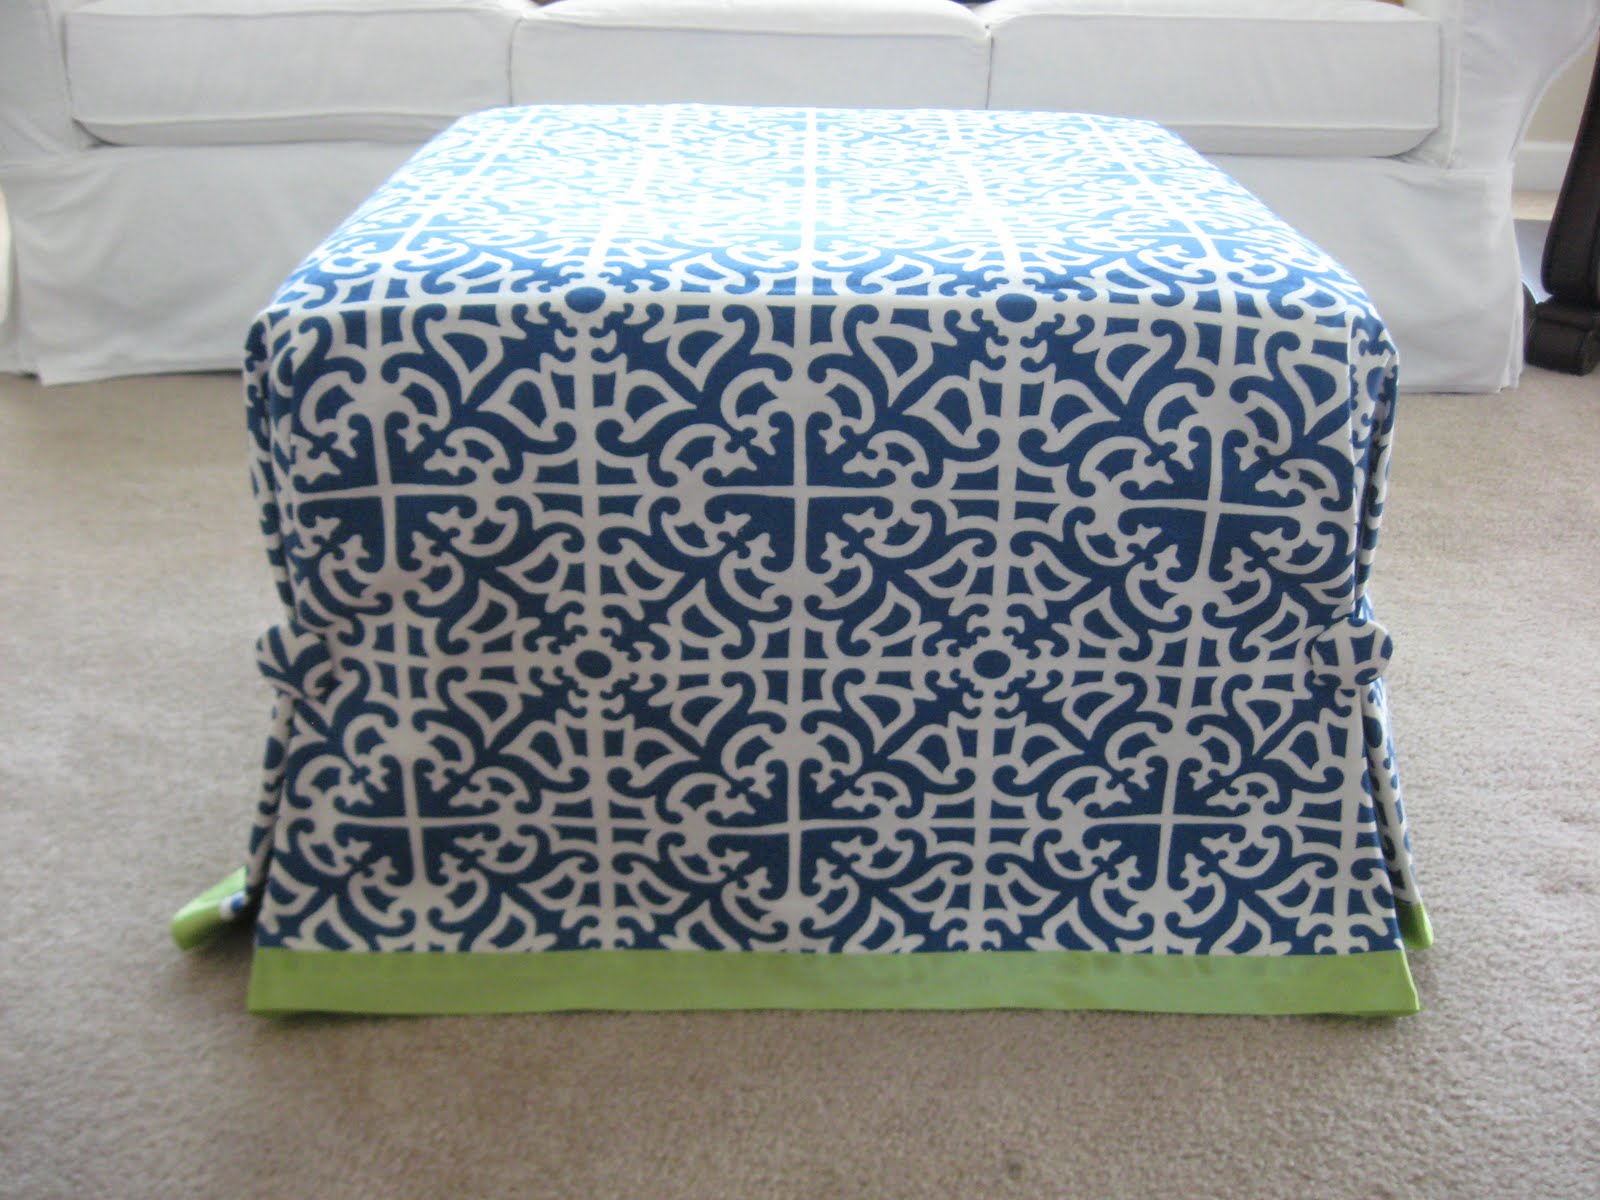
Setting Up Shop
Photo by E. Bartholomew
Setting Up Shop
Think like a store – you want to have things “merchandised” if you will. Organize by category (kitchen stuff, books, clothing and decorative things) and try to get as much stuff up on tables as possible. If you have a local senior center, church or community center stop by and ask if you can borrow some tables if you don’t have enough. For clothes, the more stuff you can hang up – the better it will sell – so if you can run a clothesline or have a shower curtain rod you can suspend somewhere that will be great. I love the idea below of creating great tongue in cheek signs! Remember, people love to browse and if you give them a reason to check out each section they might be more likely to buy!
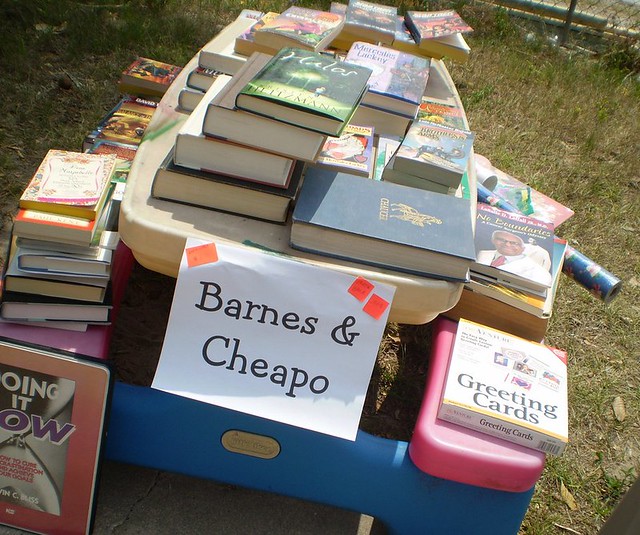
Photo by EvelynGiggles
Advertising
Make sure list your sale on Craigslist.com. If you have some really good stuff, take some pictures to post with your Craigslist ad. You also need to make sure you put signs out directing people to your home. Your signs need to be bright, list the date, the address and lead people from a main road to your home with a sign or arrow at each intersection they come to. I hate getting to a neighborhood, turning in and having NO idea where to go from there! Even if you put the address on the sign, it is hard to read that from a moving car. People will be more likely to arrive at your sale if you give them a path to follow! The Yardsale Queen did a great post on how not to do garage sale signs.

Photo by Allan Chatto
Day Of
Finally, on the day of get ready for people to be out early! And by early I mean like 7am. Be friendly and have a checkout area set up. I like to have a box for the change, a calculator, and a pile of grocery shopping bags that you can hand out to people who have a lot of stuff!

By the time you get to 10:30-11:00 am consider putting up a sign in front of your house that says “Everything is 50% off!” since that is the time that traffic dies down and you will need to move it then or risk losing the sale! Better to get 50 cents for something than just take it to donation after that. Plus, if you do that, lots of people will buy more stuff, so you end up making just as much money and getting rid of more stuff.
Photo by EvelynGiggles
By the time you get to 10:30-11:00 am consider putting up a sign in front of your house that says “Everything is 50% off!” since that is the time that traffic dies down and you will need to move it then or risk losing the sale! Better to get 50 cents for something than just take it to donation after that. Plus, if you do that, lots of people will buy more stuff, so you end up making just as much money and getting rid of more stuff.
I hope these tips were helpful - but I am sure I have left some out! What are your best tips for a successful yard sale? If you are a regular yard sale attendee, what are your likes and dislikes? I wanna know!