Ok today I have another great blogger back today to share some great ideas with you guys! Brittany from Pretty Handy Girl is an amazing blogger, incredibly talented handy gal, and a great friend! She has been incredibly supportive for me and I just love her to death! I got to meet her in person this year at Blissdom and she is just as incredibly friendly and helpful in person as she is on her blog! Please make sure you head over and check her out if you haven’t already!

I think you guys will love the project she has up for us today. Super easy and a great way to customize your own fun party plates! Enjoy!
~~~~~~~~~~~~~~~~~~~~~~~~~~~~~~~~~~~~~~~~~~~~~~~~~~~~~~~~~~
Congratulations to Jess and her husband! The photos of her little man are sooo sweet! I couldn't be more excited for them both.
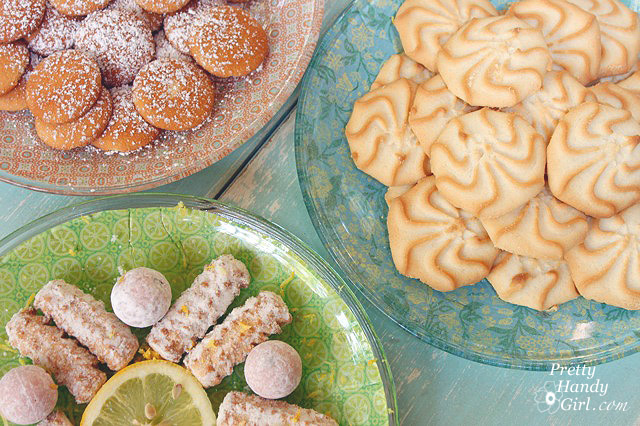
I want to thank Jess for inviting me over today to share with you an easy craft tutorial. I call these my citrus themed glass plates.
First let me take a minute to introduce myself. I'm Brittany, aka Pretty Handy Girl. I write a blog called, what else: Pretty Handy Girl! I'm on a mission to empower people to take on their own DIY project.
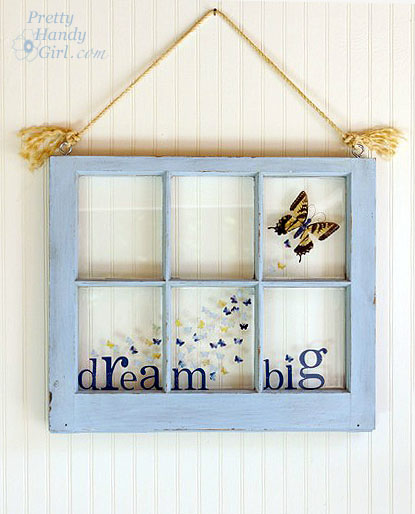
Some of my projects have been pretty:
Some of them have been ugly: 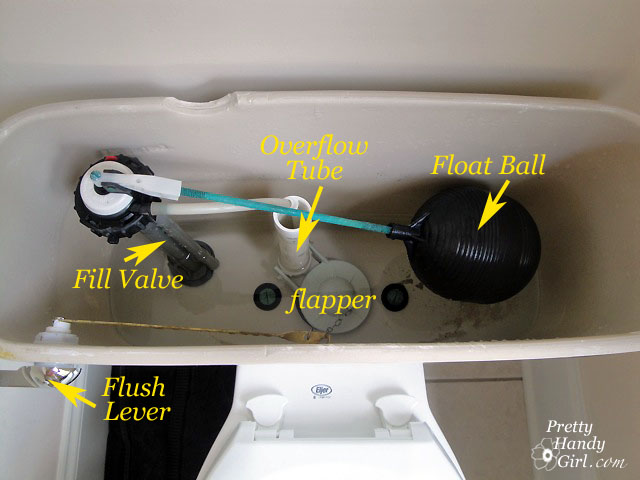
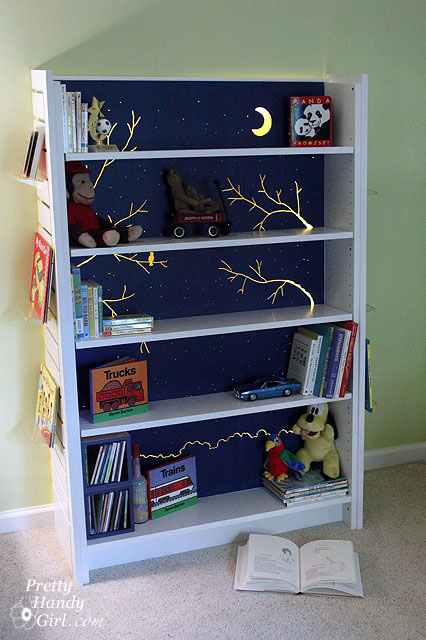
Some are fanciful:
And others are adventurous:

Regardless the project, I always provide detailed directions and pictures to help empower you to build it, craft it, sew it, or fix it yourself! I hope you will stop by soon and say "hi!"

Before my 4oth birthday party, I had been scouring the stores for some pretty citrus colored plates to serve sweets on. I was coming up empty-handed, was running out of time, and was concerned about my budget. I happened to stumble upon some glass plates I bought at Goodwill awhile ago. And then the idea hit me! Why not make my own decorative plates! 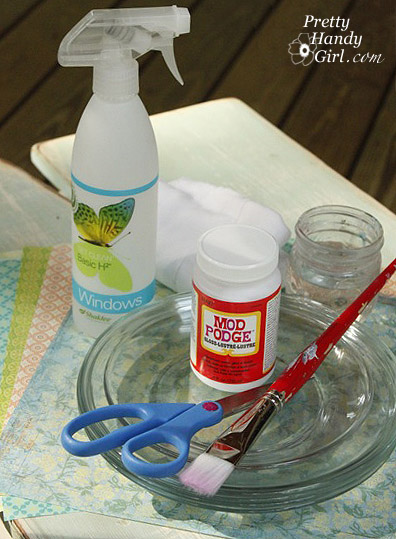
Materials:
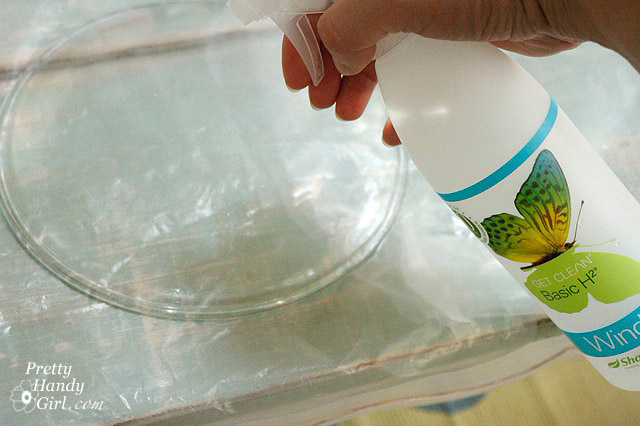
Instructions: 1. Clean the bottom of the glass plates with glass cleaner.
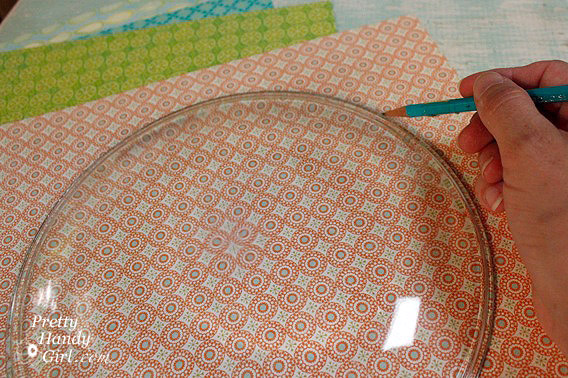
2. Trace around the plate on the scrapbook paper.
3. Cut out the circle.
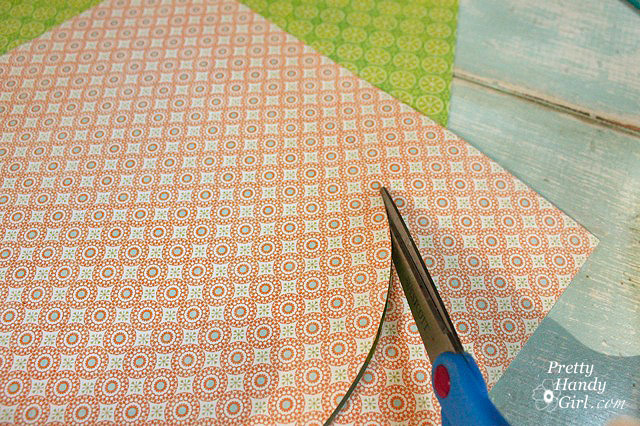
4. Snip four slits into the circle but NOT all the way to the center.
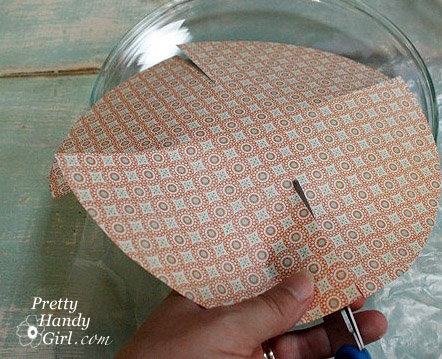
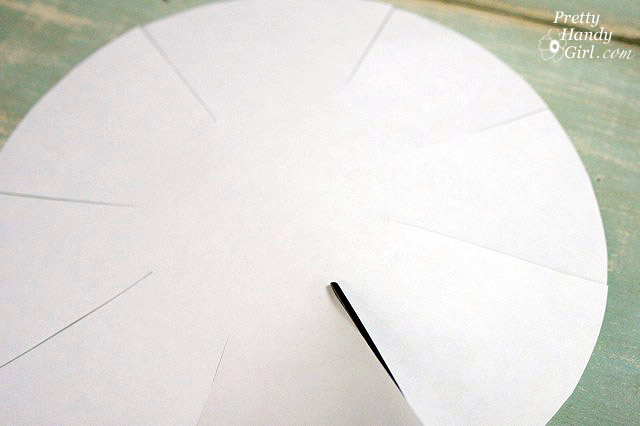
5. Snip four more slits centered between the first set of slits. You should end up with eight cuts equally spaced.
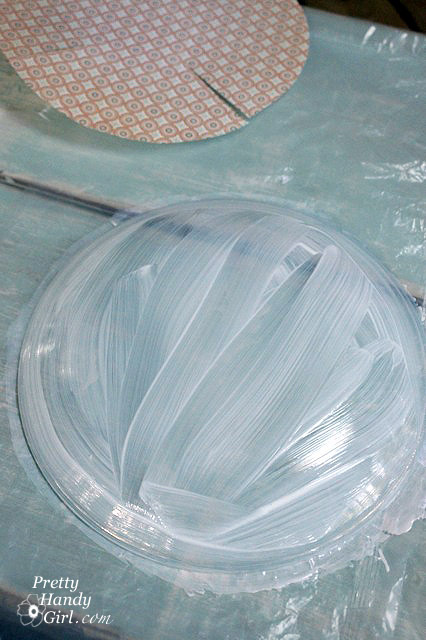
6. Cover the bottom of your glass plate with mod podge.
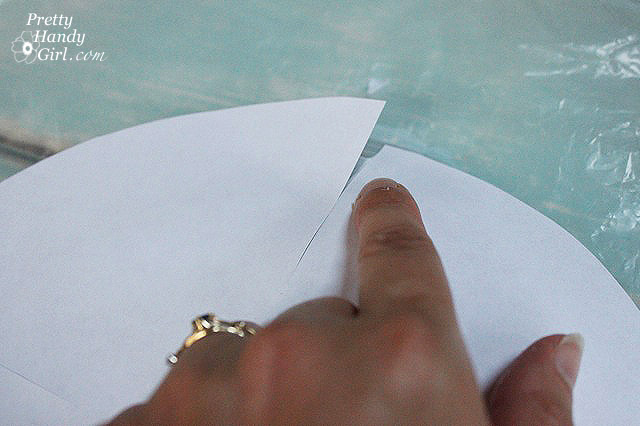
7. Center the cutout circle onto the bottom of the plate, pattern side down. Gently press the paper onto the plate allowing the paper to overlap slightly at each slit.
8. Liberally apply mod podge over the scrapbook paper.
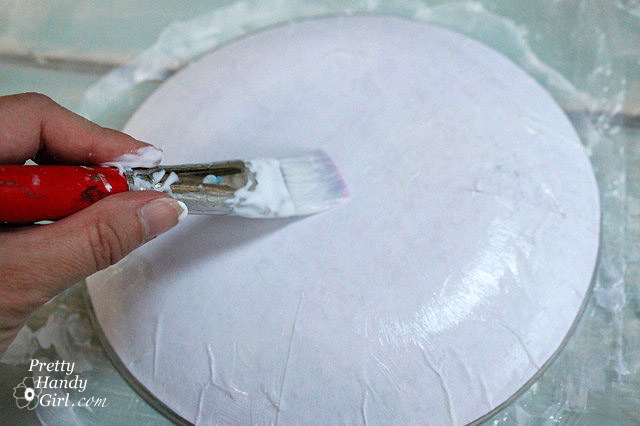
9. Use your finger to smooth out the wrinkles in the paper. But, be gentle or the paper will tear.
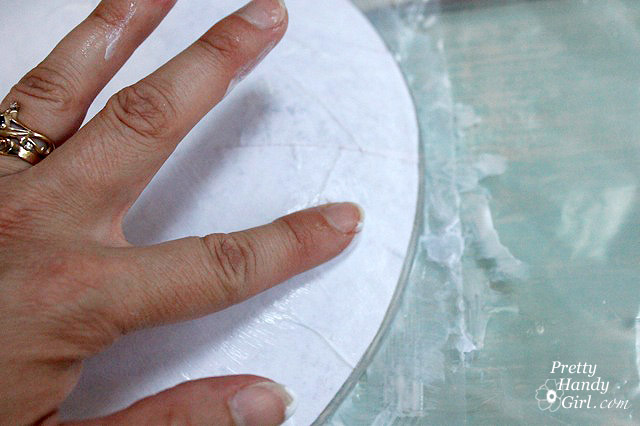
10. Lay the plates upside down on the jars and cans until dry. Add more mod podge if needed to seal the scrapbook paper and glue it down.
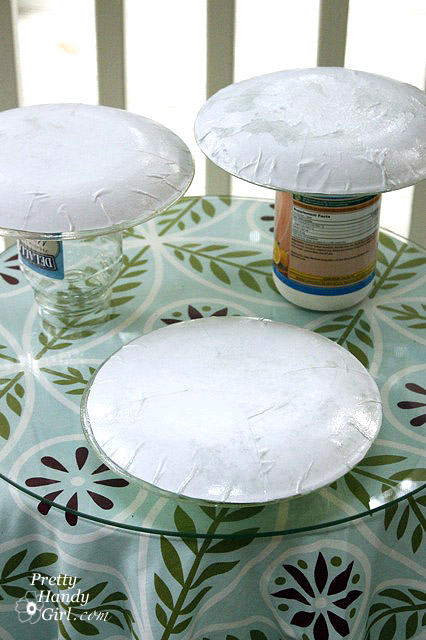
Turn them over and enjoy your unique decorative plates. Note: Do not fully submerse the plates in water, wipe them off and wash the tops so as not to mess up the paper side. Stack them with a paper towel in between so they don't stick together.
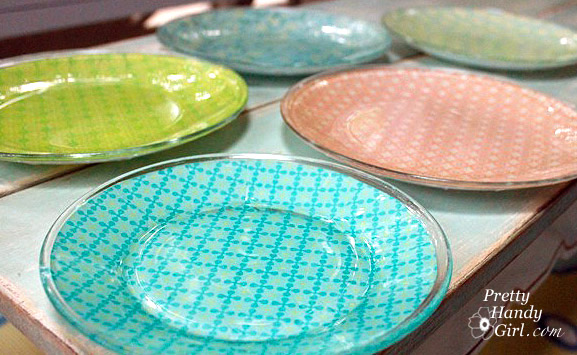
Load them up with some light citrus sweets and they will be the hit of the party!
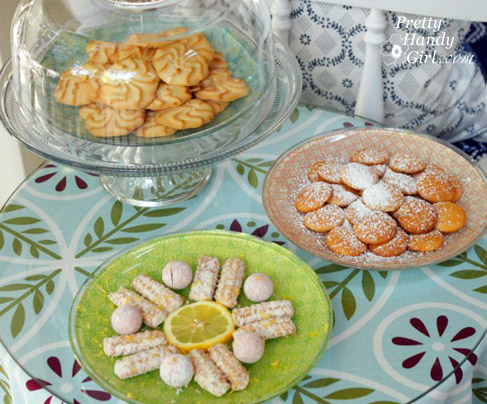
The possibilities are endless with these plates. Think about personalizing them with photos or monograms. What are your ideas for making your own plates? 
~~~~~~~~~~~~~~~~~~~~~~~~~~~~~~~~~~~~~~~~~~~~~~~~~~~~~~~
I LOVE this! Can’t you think how quick and easy this would be to do for holidays or themed birthday parties? How cute would these be to give Christmas Cookies on over the season? Oh my brain is spinning with possibilities! How would you customize yours? I wanna know!


