
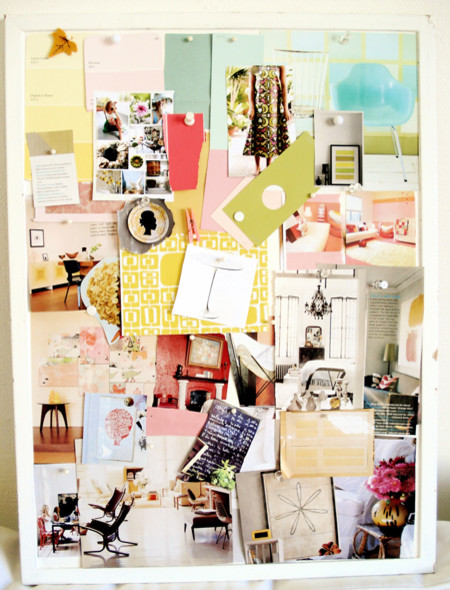
One of my favorite online tools is Polyvore. What is Polyvore? Polyvore is an online fashion and interior design site that allows you to make digital style clipboards. It is the online version of a treasured idea board – your probably more familiar with the traditional version below with a cork board and push pins.
What Polyvore lets you do is clip ideas like these straight off of websites and collect them in your own virtual clipboard like this.

It is super simple to use. First – you sign up for an account with Polyvore. Next – you install the Polyvore clipper to your browser. You can follow the detailed instructions on Polyvore’s site. Once you have the clipper installed you will see it on your tool bar on your browser. See example below.

Ok – once you have the clipper installed all you have to do is find a piece you love and then click on your new tool bar button. When you do – a little grey box will pop up and then any picture you hover over will get a little green box around it. Just like in the picture below.

Once you click on the picture – another box will pop up that will let you change any of the details about the item that Polyvore will auto-populate for you.

Then you can go back to Polyvore and add that new item from your items into a new “set”.

You can keep adding other items from your items or other people’s items! All you have to do is go to “All Items” to see everything and be able to sort. You can also resize, flip and change the background on items.

Once you have your set completed you can “publish” it and share it with the world. You have the option to share on Facebook, Twitter or embed on your blog. I like embedding the code into my blog! You can just copy the HTML right into your editor.

So that is your little tutorial on how to use Polyvore. Now that you know how – I would also like to invite each and every one of you to participate Mood Board Monday this upcoming Monday (11/22) at Pewter + Sage. Sarah hosts this little shindig and it is a blast! I have gotten some of my best ideas there. What you need to do if you want to participate is just hop over and look at the inspiration pictures for this month’s party! Then come up with your own Mood Board and link it up on Monday!
So what do you think? Will you use Polyvore? Want to participate in Mood Board Monday? Lemme know!


16 frugal friends said ...
Yes, and Probably! You are always so knowledgeable about the coolest stuff! I would be interested in a few mood board parties! Love this site.
I will lurk, but I am not that savvy, you know that! Sad, but true. At least I know where to go to learn, and I can send others your way:)
This looks awesome. Thanks for sharing that, Jess.
That actually looks like a ton of fun! Thanks for sharing! I might even participate in Mood Board Monday!
Very interesting and nice post!
Very cool. Thanks for sharing :o)
This looks really interesting, especially when I am trying to gather craft ideas :)
I never thought of doing this with decorating, but I did use something similar for planning my wedding. Hmmm...I'm trying to put together a ladybug themed bedroom for my daughter, so I think I'll give this a try.
I'm so glad you shared this. I didn't know how to add my own things. I always just made mood boards using what I could find there.
I just found one more reason to online shop at work! This should be fun!
I'm so glad you did this tutorial. I totally couldn't figure it out on my own and gave up long ago. Ha!
Fun! I'm decorating my guest bedrooms and this is a great way to visualize, thanks! Love your blog!
I like this! I just posted pictures of my Inspiration Board last night...a traditional cork board. Now I might just have to give this a try.
Thanks for sharing!
Hi Hi!!! I am your newest follower. I love the room with the blue colors up top! I am about to start working on my master bedroom and slate blue is the color I have chosen so far. I look forward to poking around your blog today and see more great ideas!
I would love for you to come join me as well.
http://dejarenew.blogspot.com
have a great day :)
how did i not know about this site? i love it!
I LOVE this! I have been doing this myself (badly) by cutting and pasting onto a word document. This is awesome!! Thanks for stopping by as well:)
Post a Comment
Your comments mean the world to me - so please leave one! It makes my day! I read and try to respond to each one!
Didn't get a response? Check out my tips here to link your email and blog back to your profile.